Jump into The Best S12K Build & Loadout for Delta Force with detailed guide on how to get the best attachments build in Warfare & Operations Modes down below:
Table of Contents
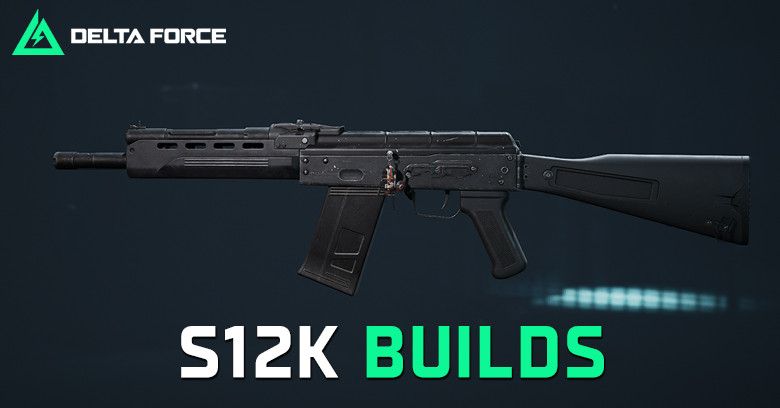
S12K Overview
You can unlock the S12K at Warfare Level 15. After you get this weapon you will need to unlock the attachments by using it any mode of the game. The Max Level to get full S12K attachments at Level 77.
S12K is available to use with 6 Operators such as D-Wolf, Vyron, Shepherd, Uluru, Stinger & Toxik.

S12K is in the Shotgun Class that has the highest Fire Rate stats mong all Shotgun inside the game. Non-attachments S12K stats come with:
- Mode: Single
- Damage: 17*8
- Range: 4m
- Control: 36
- Handling: 49
- Stability: 49
- Accuracy: 48
- Fire Rate: 300 rpm
- Capacity: 5 round
- Muzzle Velocity: 400m/s
Best S12K Build for Delta Force Warfare

This is the Best S12K build to use in Warfare Game Mode. You can copy our S12K Build Code > S12K > Modify > Loadout > Import > Paste The Code.
S12K Build Code (Warfare)
- Copy this => S12K Shotgun-Warfare-6F72EES05E7GMC01NIUGE
| S12K Loadout | Attachment Details |
 S12K Practical Long Barrel Combo S12K Practical Long Barrel Combo | Apply this Barrel with S12K in order to Lower the Recoil Control of this gun and it won't decrease the Fire Rate stats like other Barrel does. Moreover, Calibrate this barrel to improve the 9% Muzzle Velocity and Extra Control effect too. |
 Shotgun Cage Compensator Shotgun Cage Compensator | Applied this Muzzle to reduce a huge recoil control for S12K. |
 X25U Angled Combat Grip X25U Angled Combat Grip | This Foregrip is special it improves both Vertical & Horizontal Control making it easy to shoot the target when sprinting. |
 Scorpio Rear Grip Scorpio Rear Grip | This Rear Grip makes S12K easy to handle the Recoil Control plus the 16% Firing Stability when rushing forward the enemies with it own calibrated effect. |
 416 Light Stock 416 Light Stock | This Stock can reduce a great amount of Recoil Control and you should Calibrate this stock for 6% Extra Control only. |
 Zentico Charging Handle Cap Zentico Charging Handle Cap | You can either use or not use this Handle cause it increases a bit of handling stats and won't affect your weapon stats. |
 Hornet Handguard Panel Hornet Handguard Panel | For the Upper, Left, & Right Rail we recommend you guys using the Hornet Handguard Panel to boost huge Fire Accuracy stats for S12K. |
 PERST-7 Blue Laser-Light Combo PERST-7 Blue Laser-Light Combo | This Laser is applied to provide a good Laser Radar making it easy to aim the target in close-range without using ADS. |
 Practical-Weapon Light Practical-Weapon Light | This Flashlight will block the enemy's vision and they can't aim for your Head & Chest in close-range combat. |
 S12K 24-Round Extended Drum Mag S12K 24-Round Extended Drum Mag | Since S12K has really high Fire Rate with the Default 5 Ammo it won't be enough to kill the target in aggressive play. Recommend using the 24-round to match the aggressive playstyle. |
Our build focused on improving great Sprint to Firing Stability for S12K to make sure this weapon can easily focus on the defensive sector, rushing toward the target, & holding the angle around the map. Besides that, We also reduce The Recoil Control of this gun from 36 to 77 and the Accuracy stat is up from 48 to 76 to make sure you won't miss a single shot in close-range combat.
How to play this S12K Build in Warfare Mode
With our build, the S12K is now perfect to use in Sprinting & Shooting aggressive playstyle in close-range combat. Avoid shooting the enemies from Close-Quarter range cause it'll waste your bullet and got no damage to kill the target.
Recommend using this S12K with Vryon because this Operator has a Dynamic Propulsion that you can easily dash toward & backward to get closer to the target or dodging enemies' bullets. Most importantly this Dash will reset when you get a Kill so you can use this Dash without any cooldown after killing the target.
Tips: To get a Faster Attachment Level to upgrade your Shotgun we recommend you guys play King of the Hill Mode in Warfare.
Best S12K Loadout in Operations Mode
We won't recommend you guys play S12K in this mode. Because the damage of this gun is really low and can't one-shot the enemies with good Armor & Helmet Gears. Moreover, it really wastes your Tekniq Alloy to get a good Loadout from this gun.
Best Class Gadget for S12K
Class Gadget, equipped alongside your primary and secondary weapon, can come in handy in many different scenarios depending on which operators you play when using S12K.
Seem this weapon can be used with all Operators we will choose the Best Class Gadget for each Operator to use with S12K.
| Class Gadget | Guide |
 Med Combo Med Combo | Neutral Supply Crate which heals operators within range automatically. |
 Healing Syringe Healing Syringe | Healing Syringe is to boost the HP so player can go right back into the gunfight with full health. |
 AT4 Launcher AT4 Launcher | Great to kill a group of targets with explosive grenades. Mainly, useful for Anti Armor battles, Anti Aircraft, and against objectives. |
| Allows allies to respawn at the deployment spot, ideal for being hidden behind enemy lines. |
Med Combo is the Best Class Gadget for Support Operators when using S12K It will be a healing utility to support your team as well it can heal every teammate who steps inside the range of it. Place this Med Combo near you and your teammate to recover health when you hold any angle.
Healing Syringe is the Best Class Gadget for Assault Operators when using S12K to defend or push forward the targets use this healing syringe to quickly restore full HP in quick seconds.
AT4 Laucnher is the Best Class Gadget for Engineer Operators when using S12K. This Launcher has 4 explosive bullets that can kill a group of enemies. Especially, can deal good damage to Anti Armor Vehicles, anti-aircraft, and Objective with fast fire when shooting.
Respawn Beacon is the Best Class Gadget for Recon Operators when using S12K place this device to create other respawn deployment spots that allow your teammate to respawn and continue the battle without any notice or destroy this Gadget from your enemies
End of Delta Force S12K Shotgun build guide.
Related Shotgun Article
 M870 M870 |  M1014 M1014 |
 S12K S12K | - |